Community Channel Signees Walkthrough
In this article, we’ll walk you through the entire process of using the EmpireTV Community Channel—from logging in for the first time to creating content, building playlists, and making them live on every screen in your facility. This step-by-step guide is designed to help you easily manage and display customized content throughout your building.
The process is divided into three simple steps:
A. Create Content – Design your slides using preloaded templates or custom elements.
B . Add to Playlist – Organize your content into a playlist and set display durations.
C. Assign to Screen – Publish the playlist to a live screen so it appears throughout your facility.
Video on the bottom of the article.
A. Create Content
1. Click on "New Creative" of the "+" icon

2. You can either choose "Start with blank page" or use a pre-existing template.

3. Using a Pre-Existing Template

Once you’ve selected a pre-existing template, you can fully customize it by clicking on any element. You can cut, crop, delete, copy, resize, and reposition text, images, or videos as needed to match your desired layout

4. On the left-hand side of the screen, you’ll find a panel with all the elements you can add to your content.
These include images, videos, GIFs, text boxes, calendars, clocks, timers, event reminders, charts, tables, weather widgets, web links, and QR codes. You can simply drag and drop, see full list below.
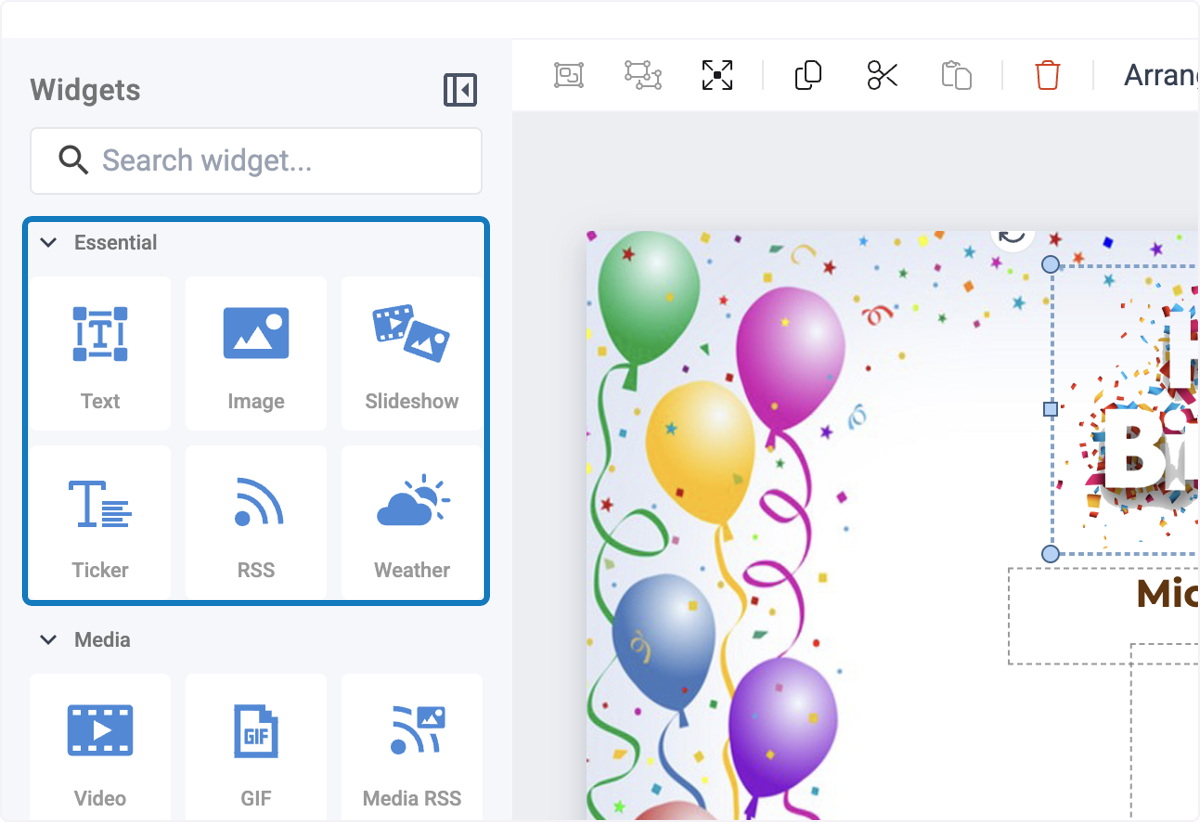
5. You can preview your content before saving.

6. Click on Save

7. Close out the screen

B . Add to Playlist
8. Click on Playlists

9. You can either create a new playlist by clicking the “New Playlist” button or edit an existing playlist by selecting it from the list.

10. On the panel on the left side, choose the content you'd like to add to the playlist.

11. Choose the duration you'd like each slide to play.
Within a given playlist, you can add multiple slides and choose how long each slide should play for; the default is 10 seconds.

12. Click on Update

C. Assign to Screen
13. Click on Screens

14. Click on the edit pencil.

15. Choose the playlist you would like to add to the screen

16. You can pre-schedule for a specific date.

17. Choose the date you would like your content to be published.
You can choose a specific day of the week, set it to recur, and decide how long it should continue repeating. Alternatively, you can select a specific date in the month — for example, if you’d like to preload a Happy New Year’s message, you can schedule it for January 1st.

18. Click on Add

19. Click Update to make your content go live across all screens in your facility.
